Requirements
To begin creating your flow, you must install and set up the Power UX solution in your environment.Create a UX Flow
Create a UX Flow
To create your first UX flow, follow these steps:
-
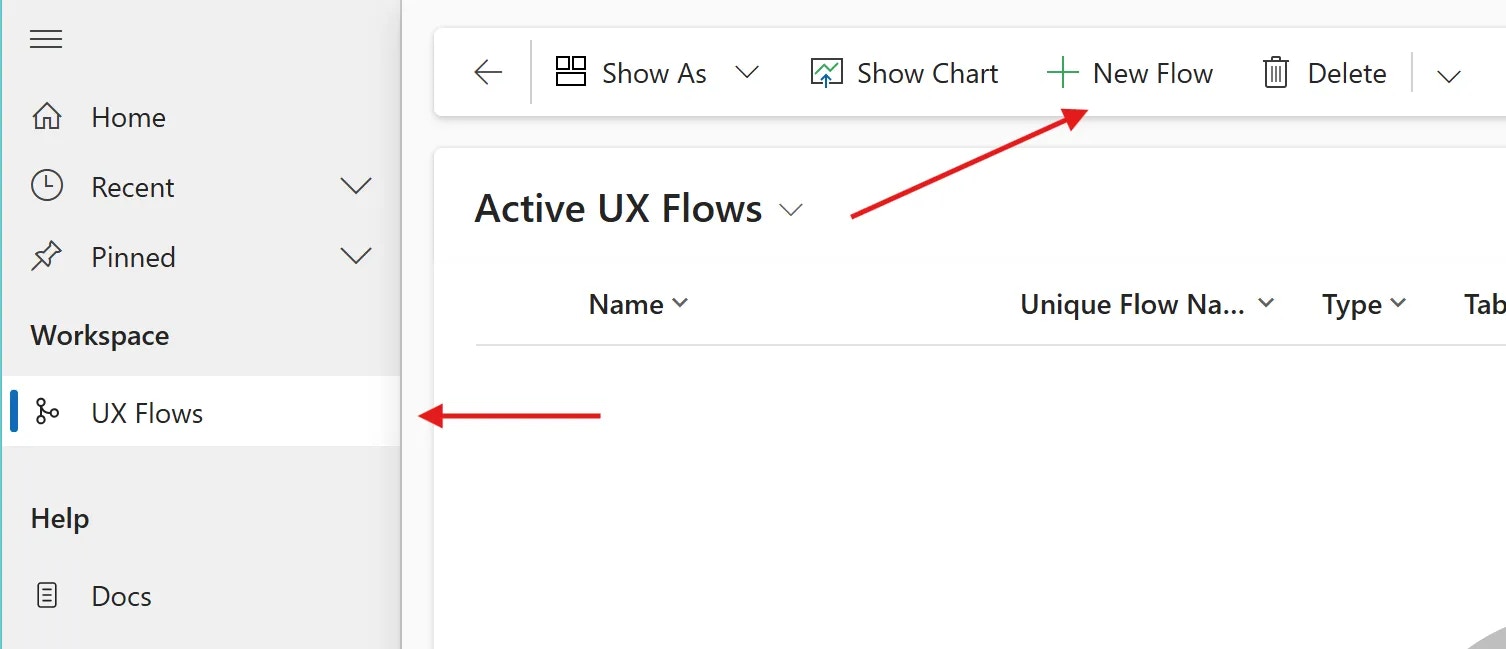
Go to Flows from the navigation menu and click New Flow.
-
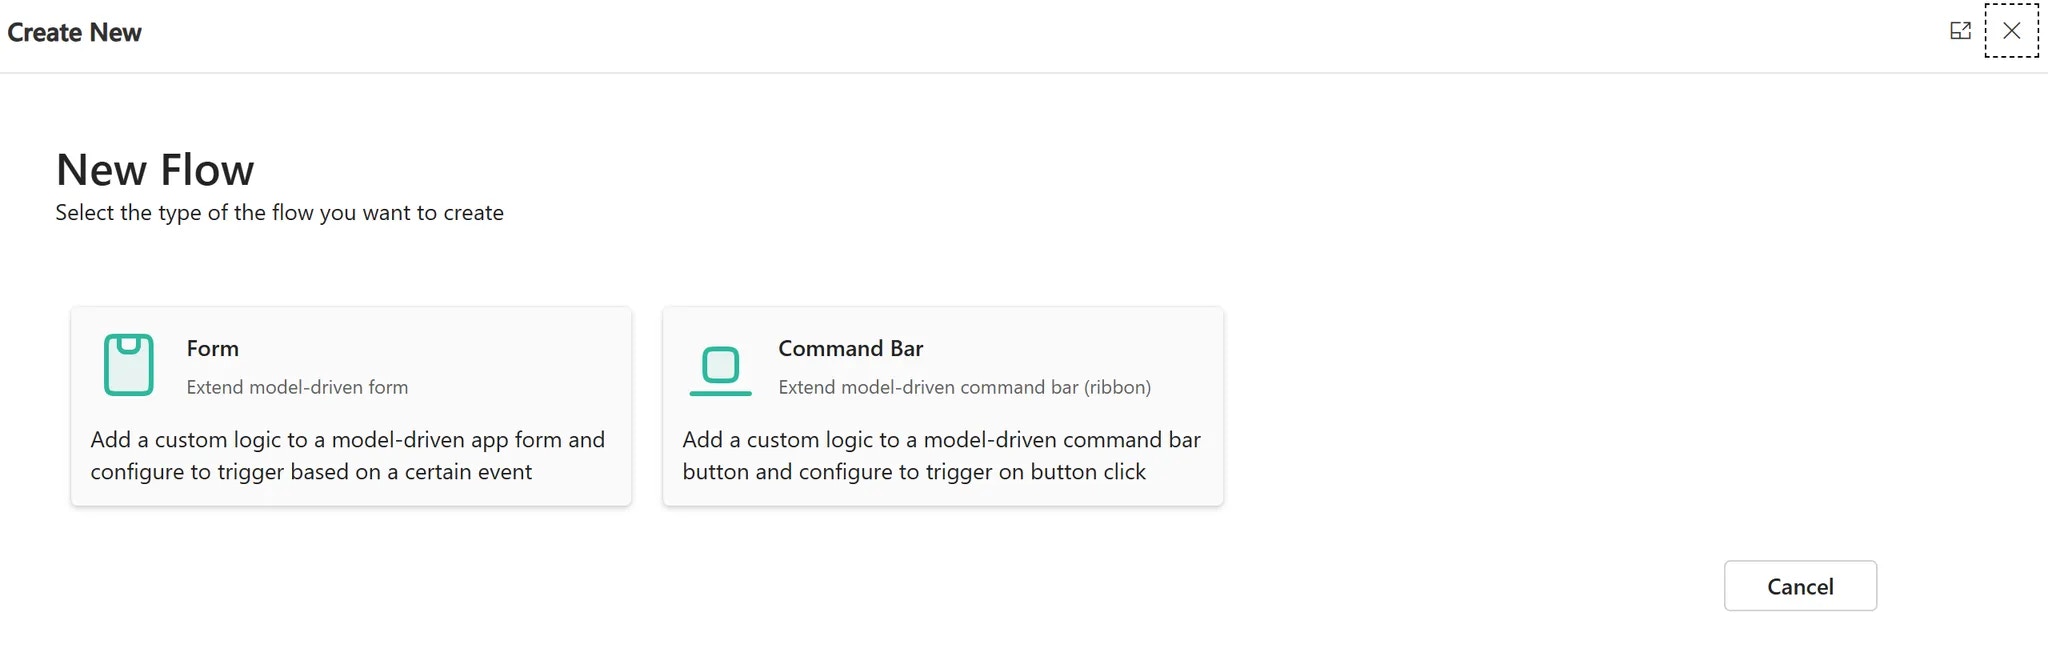
Select the flow type from the popup window
-
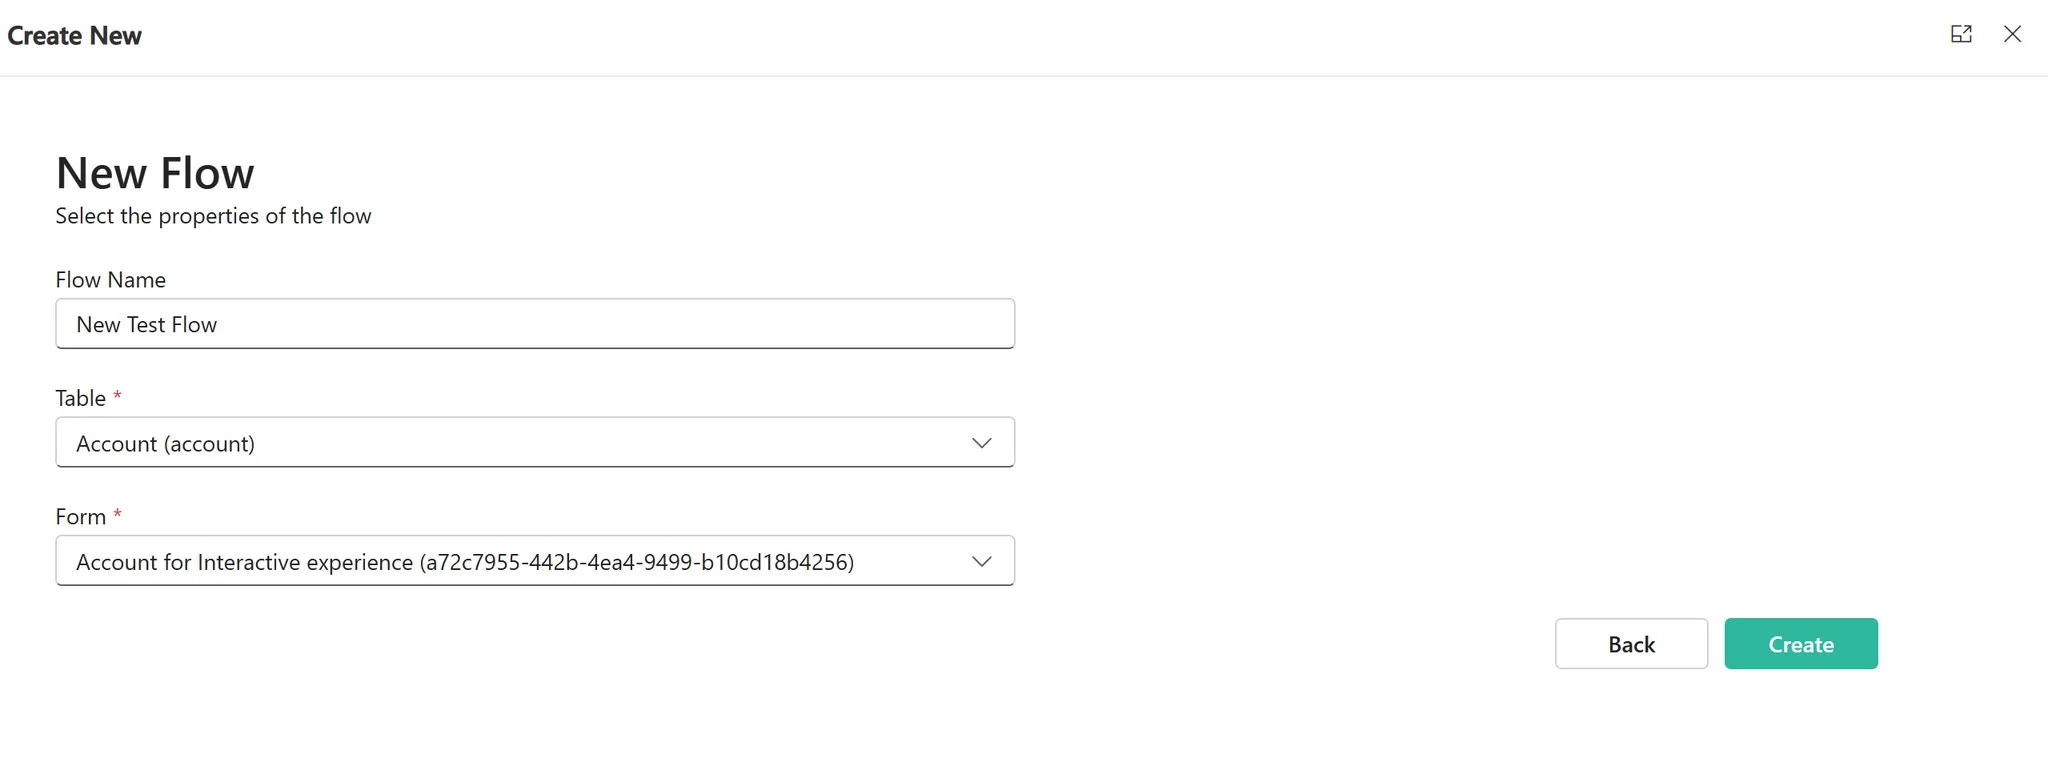
Choose a Name, Table and the Form for the new flow, then click Create.
-
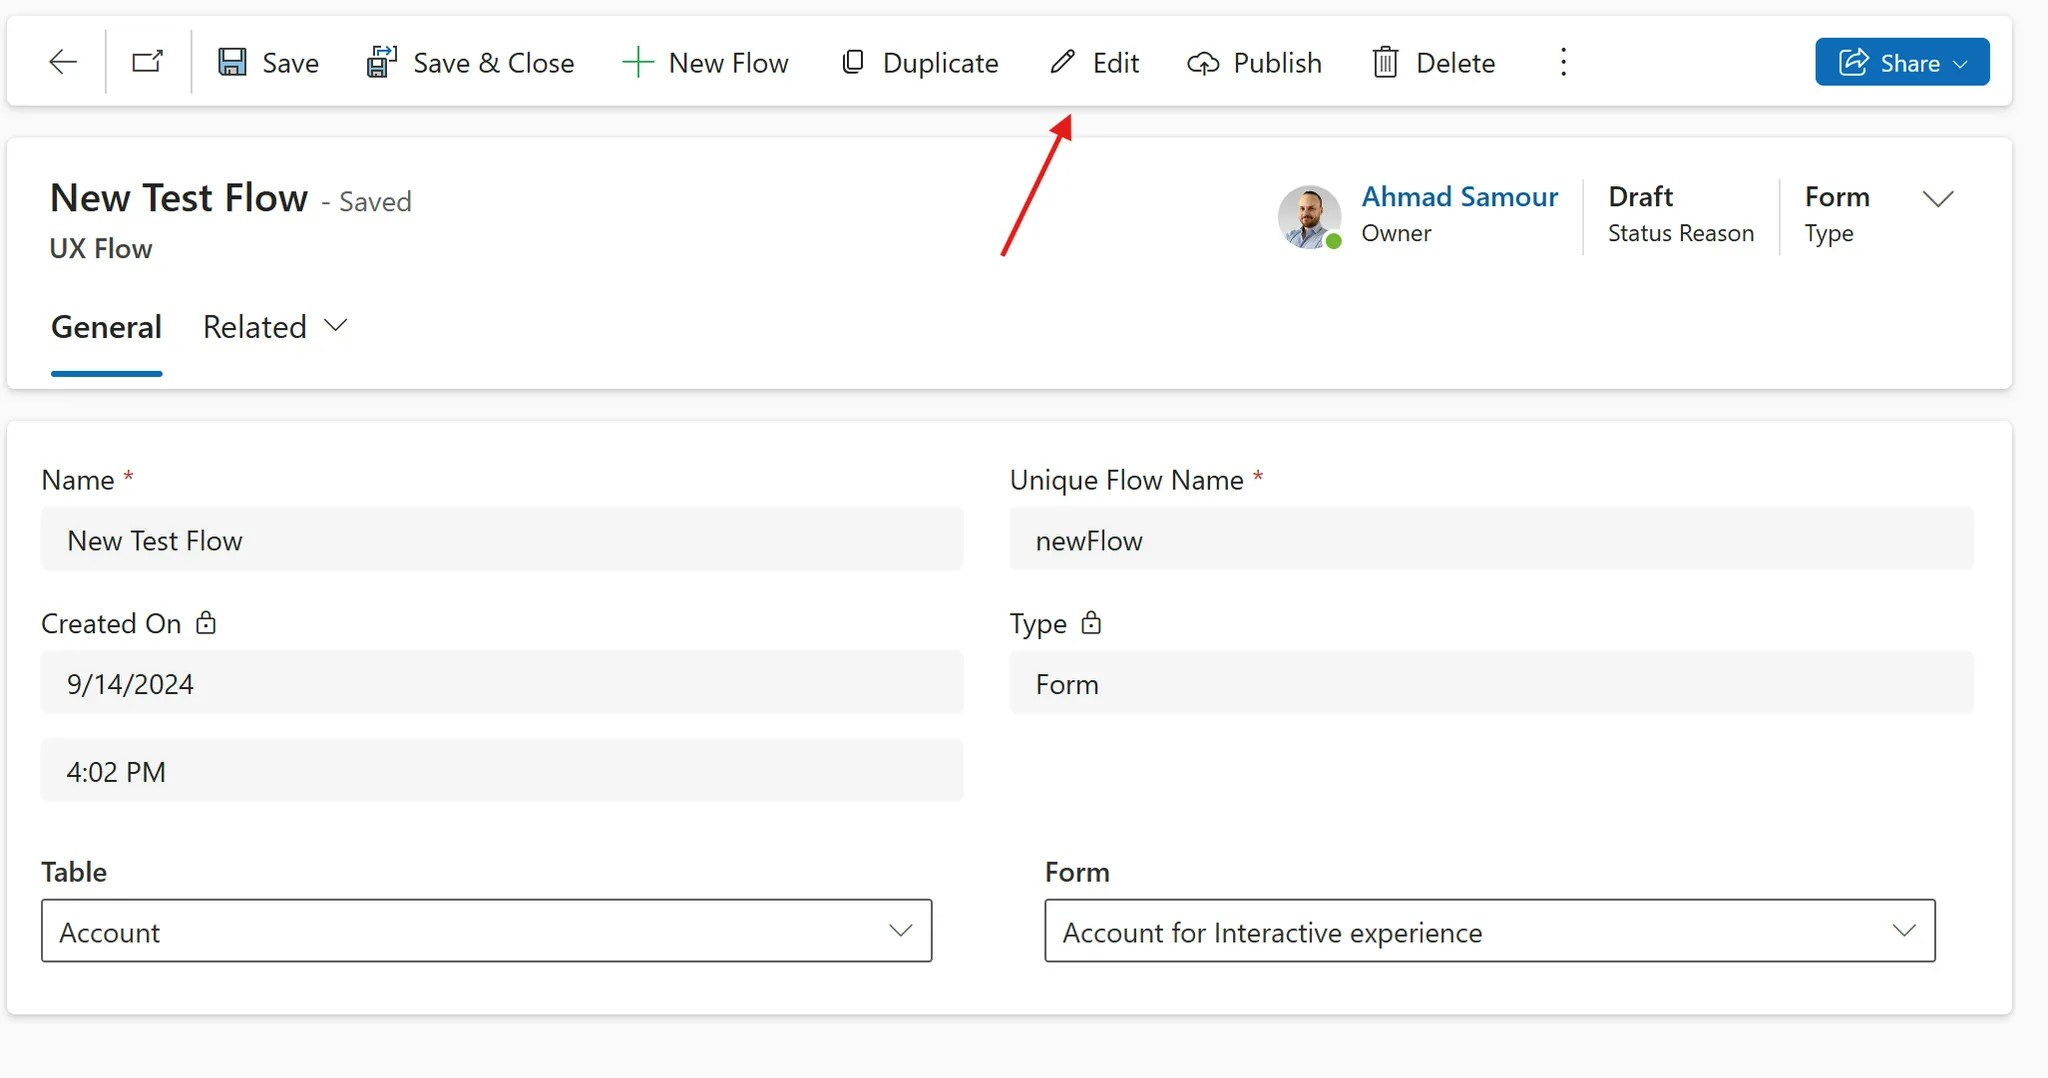
Edit the Unique Name of your flow, or keep it as suggested, click Save to complete the process

Edit a Flow
Edit a Flow
A trigger is an event or action that sets off your flow. It could be an email being changed or a form being saved for example.
You can select multiple triggers. See the Triggers page for details.
-
Click Edit to open the UI Flow Editor.
- If your flow is a form flow, start by selecting a Trigger.
- Click the + button to select an action.
- After creating your flow, click the Save button on the toolbar.
If the flow type is command bar, the trigger will be like the below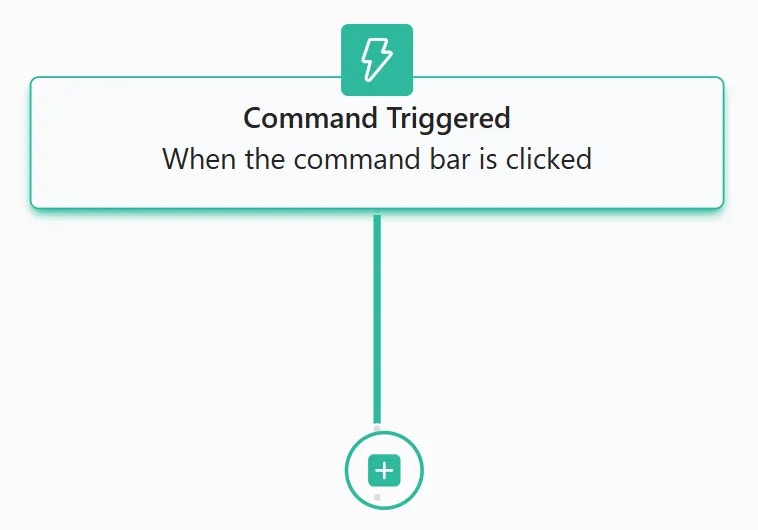
Publish your Flow
Publish your Flow
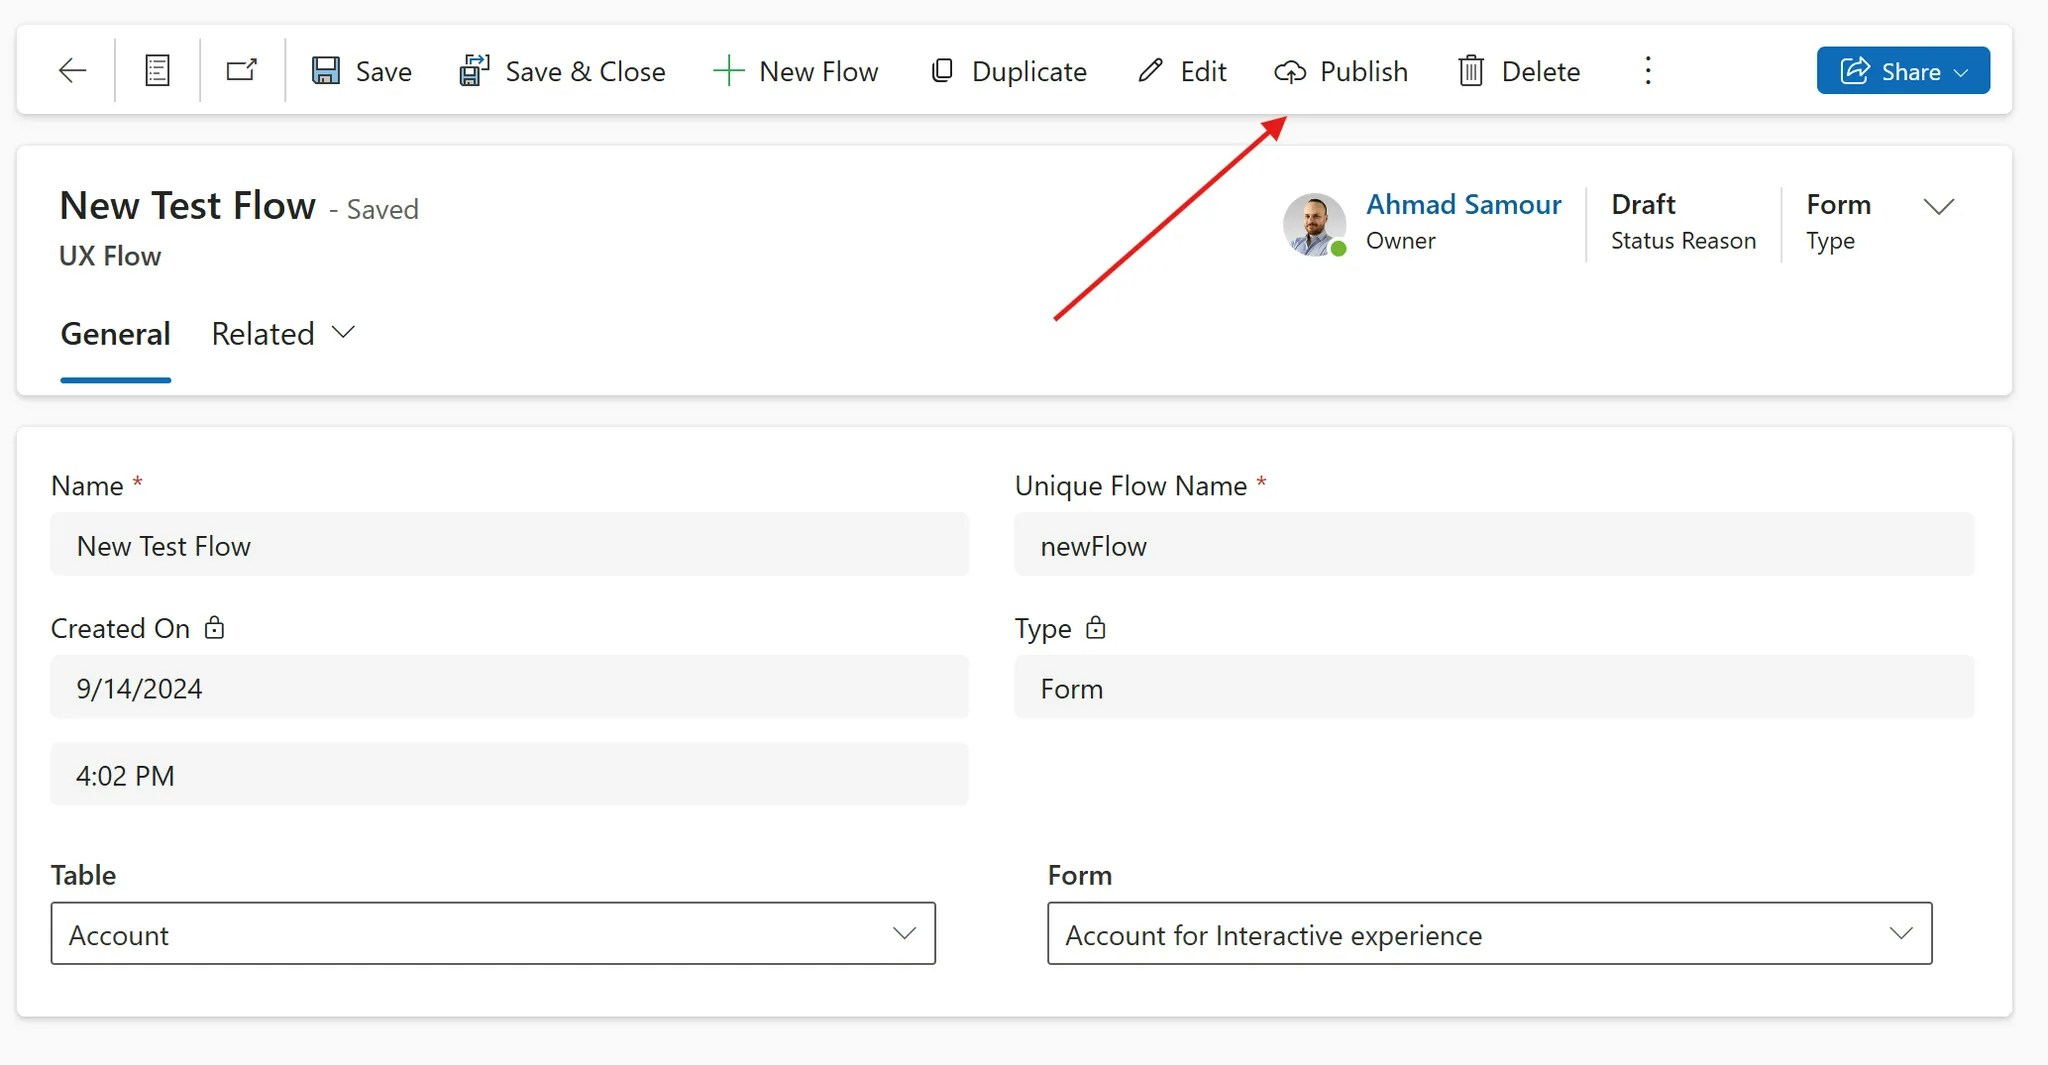
Your flow is currently a draft. To apply it, you must publish it.
-
Click Publish.
-
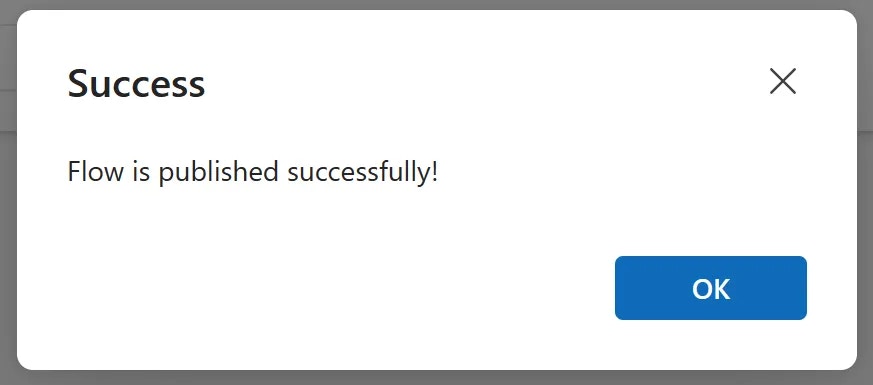
After the loading is complete, this window will appear. Click OK.
Update your Flow
Update your Flow
If you want to make changes to your published flow, the process is simple:
- Click Edit. Make your modifications and save the flow,
-
When the window closes, click Update to apply the changes made.
