> ## Documentation Index
> Fetch the complete documentation index at: https://docs.powerux.app/llms.txt
> Use this file to discover all available pages before exploring further.
# Projects
> This page explains what projects are in PowerUX and how to use them to automate and facilitate your solution segmentation
## Introduction
**Projects** in PowerUX are designed to help organize your custom business logic and streamline the way solution-aware components are added to your Dataverse solutions. By aligning with how your organization structures its ALM (Application Lifecycle Management) processes, Projects ensure consistency, maintainability, and scalability.
With Projects, **solution architects** define clear solution-mapping rules, while **makers** can focus purely on building logic using PowerUX, without worrying about where components are deployed.
 ## Create a project
To create a new project:
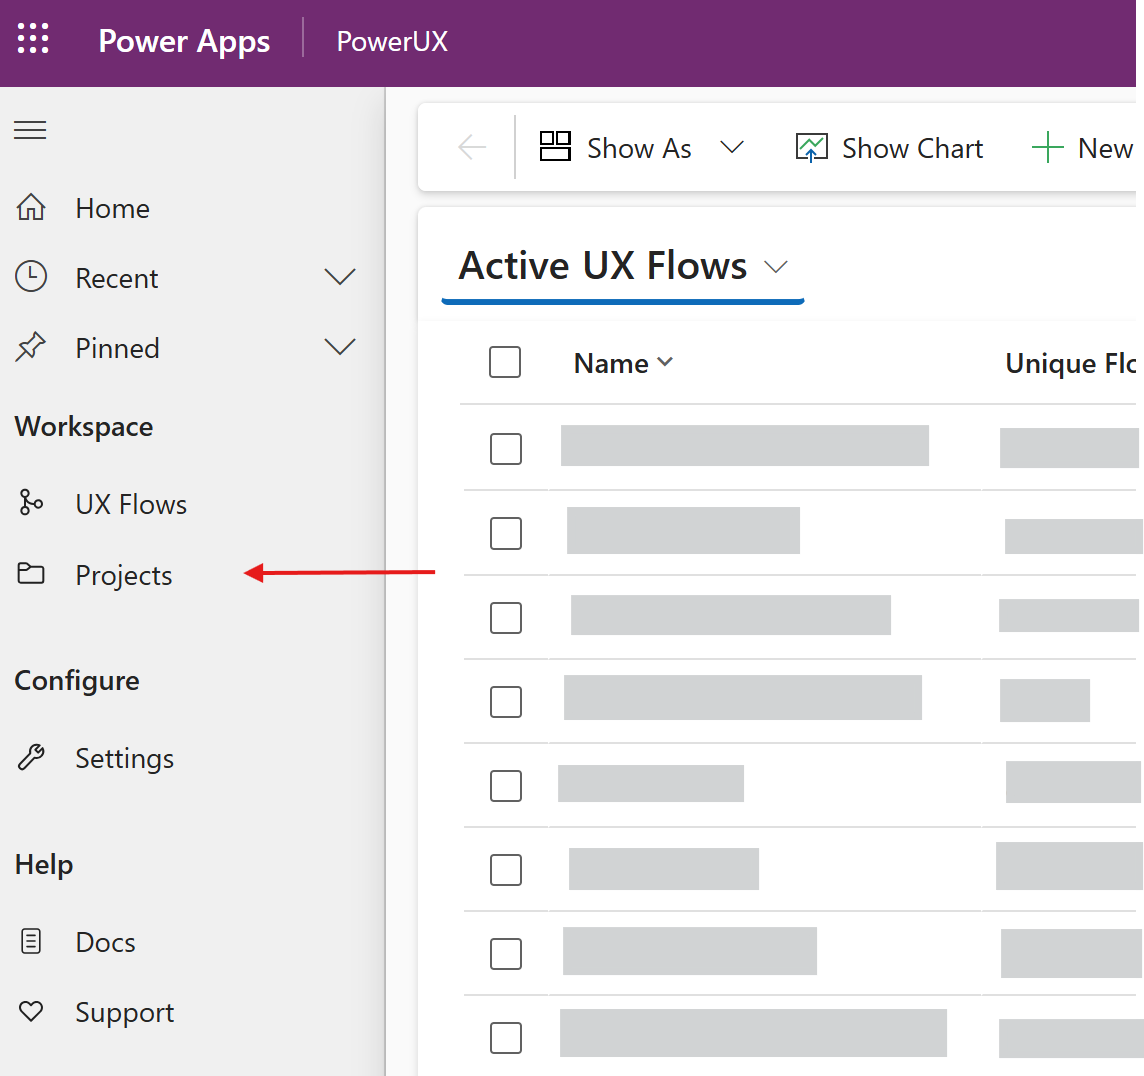
1. Navigate to **Projects** from the left-hand menu in the PowerUX app.\\
## Create a project
To create a new project:
1. Navigate to **Projects** from the left-hand menu in the PowerUX app.\\
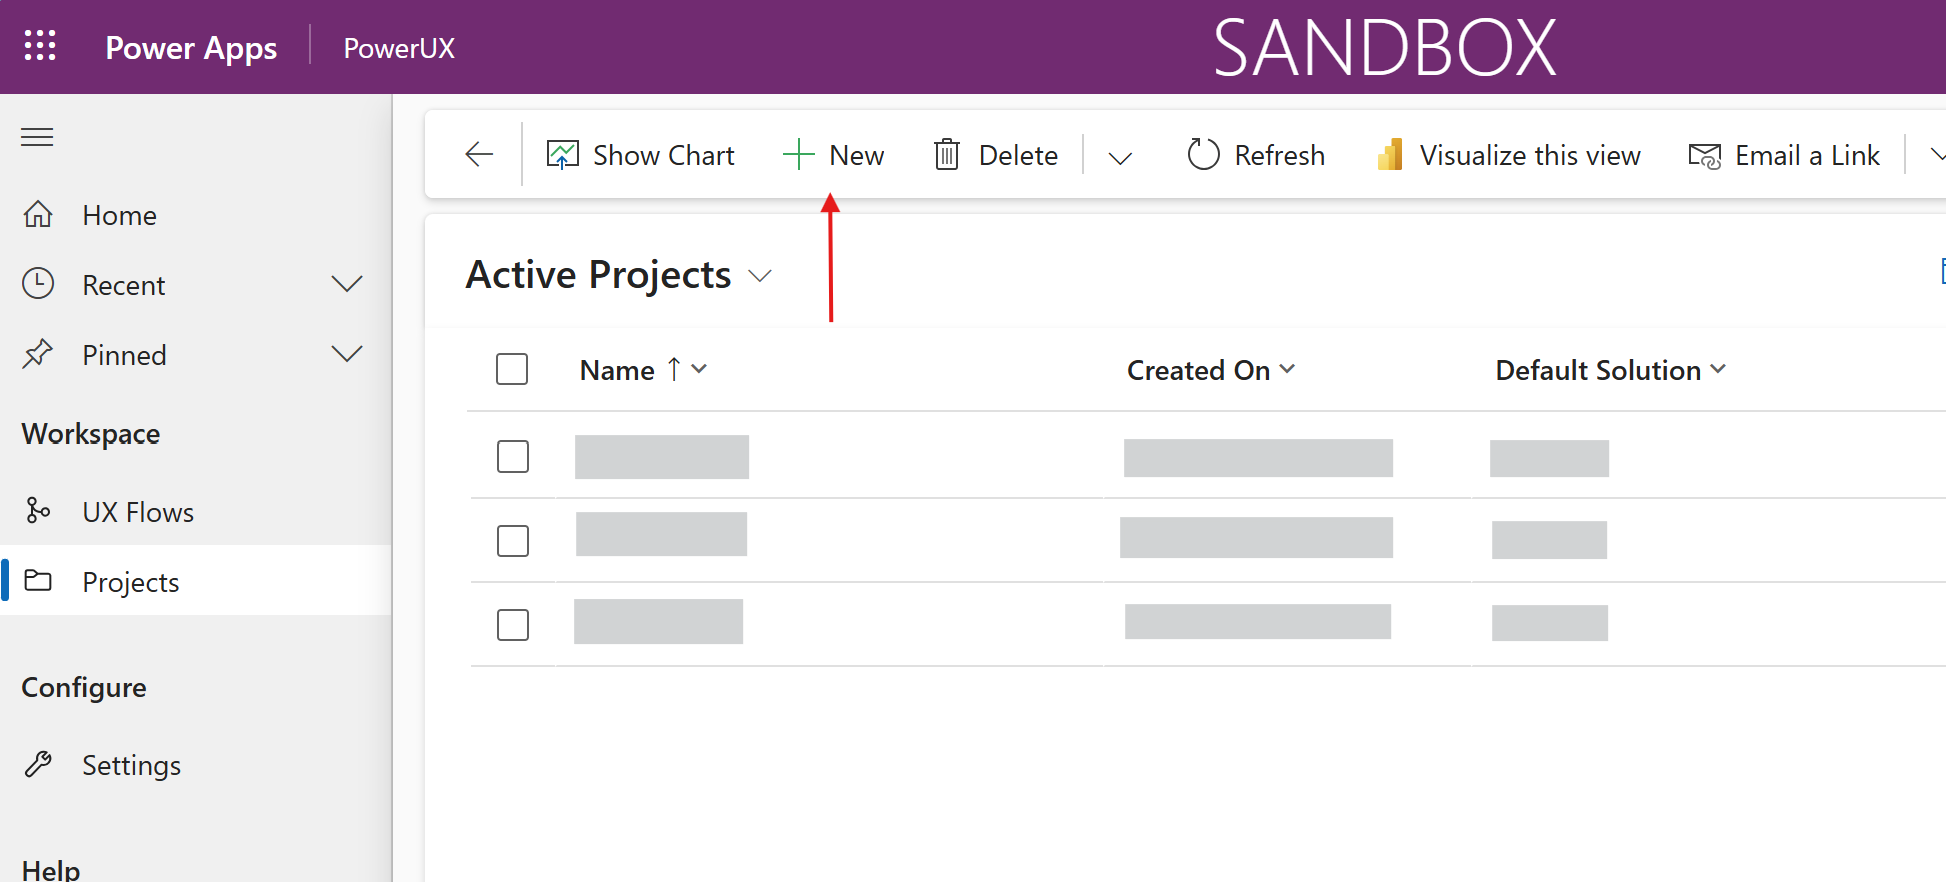 2. Click on **New**.
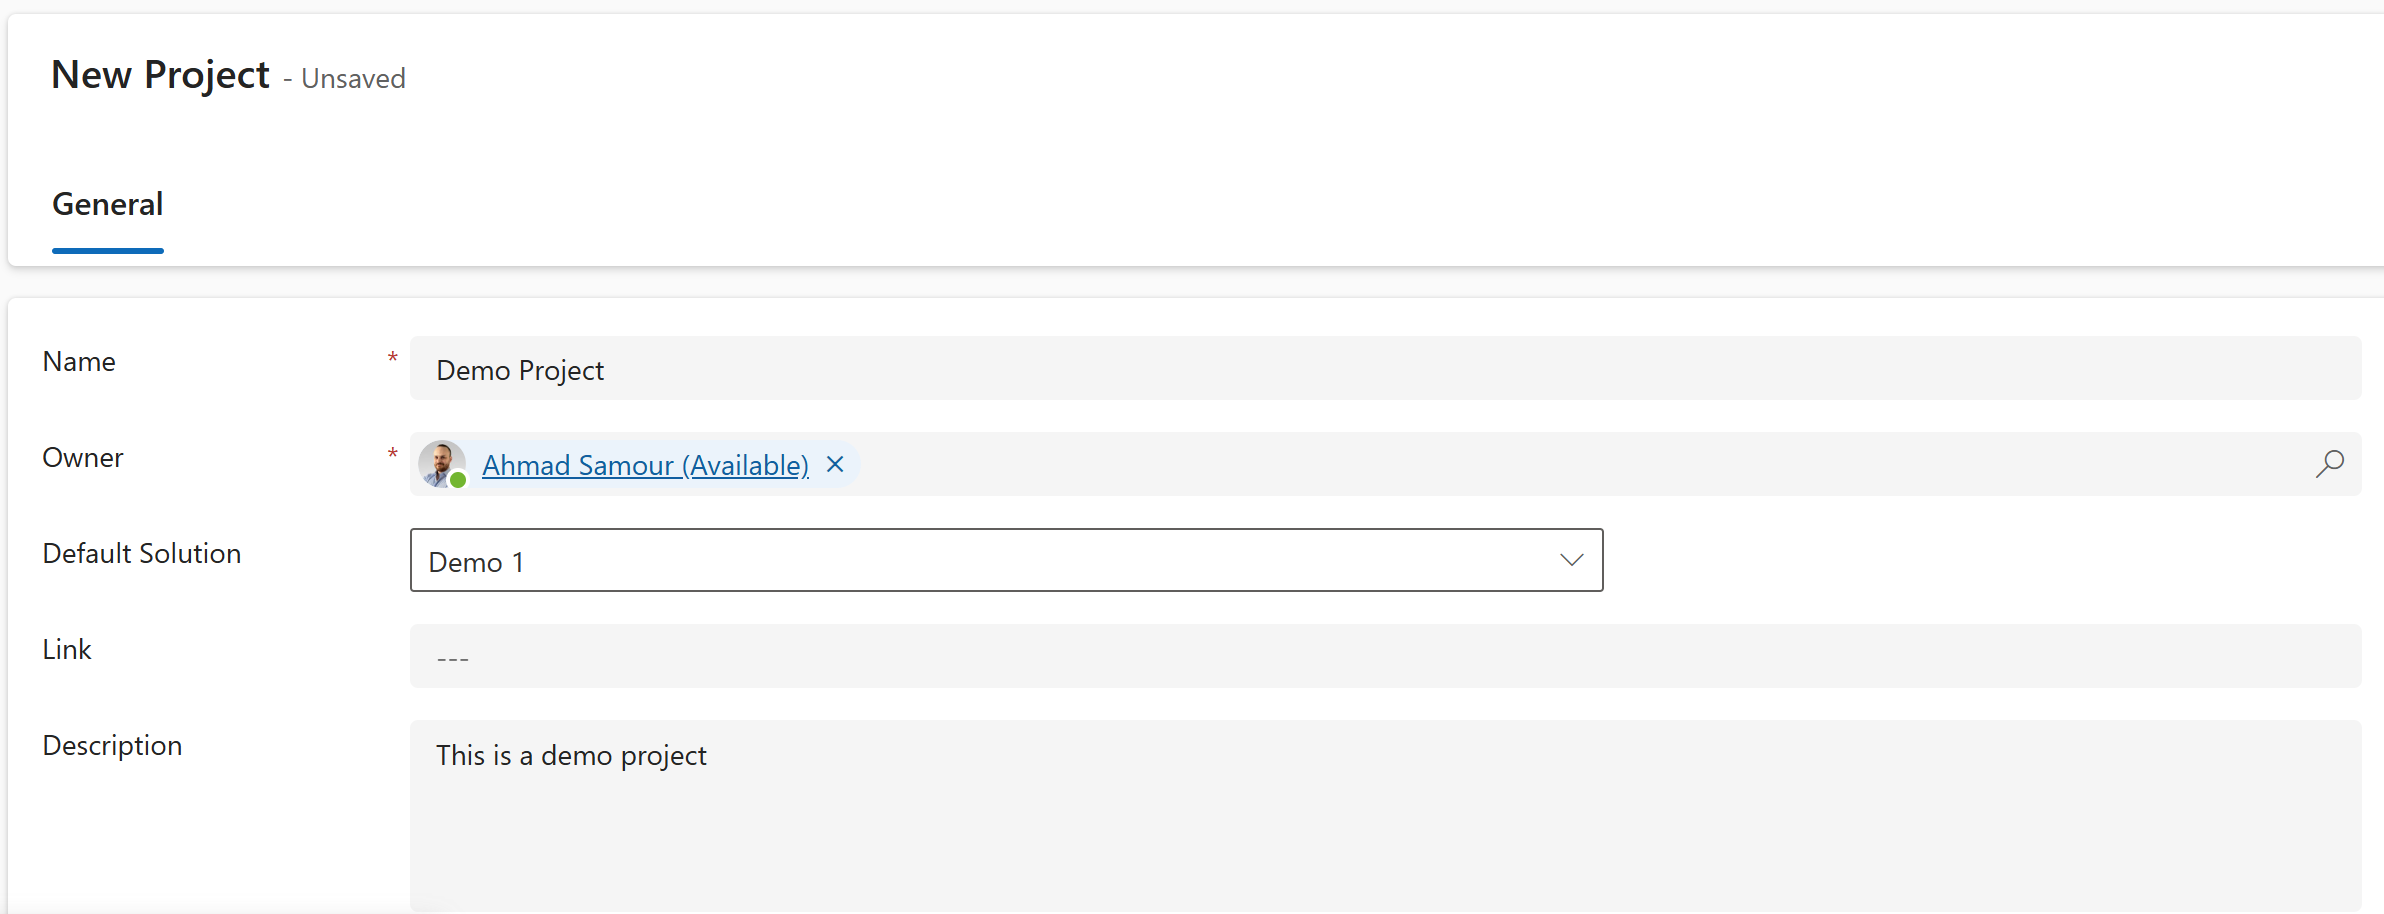
3. Fill in the following details:
* **Name**: A descriptive title for your project.
* **Description**: A summary of what the project is about.
* **URL** *(optional)*: A reference link to the associated DevOps board, Jira board, or any project tracker.
4. **Default Solution**: Select the primary unmanaged solution. All components generated by PowerUX under this project will be automatically added to this solution, unless overridden by more specific rules.\\
2. Click on **New**.
3. Fill in the following details:
* **Name**: A descriptive title for your project.
* **Description**: A summary of what the project is about.
* **URL** *(optional)*: A reference link to the associated DevOps board, Jira board, or any project tracker.
4. **Default Solution**: Select the primary unmanaged solution. All components generated by PowerUX under this project will be automatically added to this solution, unless overridden by more specific rules.\\
 5. Click **Save** to create the project.
## Project Solution Maps
For more granular control over where components go, PowerUX offers **Project Solution Maps**.
These allow solution architects to define advanced rules that automatically direct PowerUX-generated components to specific Dataverse solutions, based on criteria such as:
* The **table** the logic is related to.
* A **specific form** within that table.
This ensures components are routed correctly without manual intervention, contributing to a clean and structured ALM process.
#### Adding a Solution Map Rule
Once your project is saved:
1. Scroll to the **Project Solution Maps** subgrid on the project form.\\
5. Click **Save** to create the project.
## Project Solution Maps
For more granular control over where components go, PowerUX offers **Project Solution Maps**.
These allow solution architects to define advanced rules that automatically direct PowerUX-generated components to specific Dataverse solutions, based on criteria such as:
* The **table** the logic is related to.
* A **specific form** within that table.
This ensures components are routed correctly without manual intervention, contributing to a clean and structured ALM process.
#### Adding a Solution Map Rule
Once your project is saved:
1. Scroll to the **Project Solution Maps** subgrid on the project form.\\
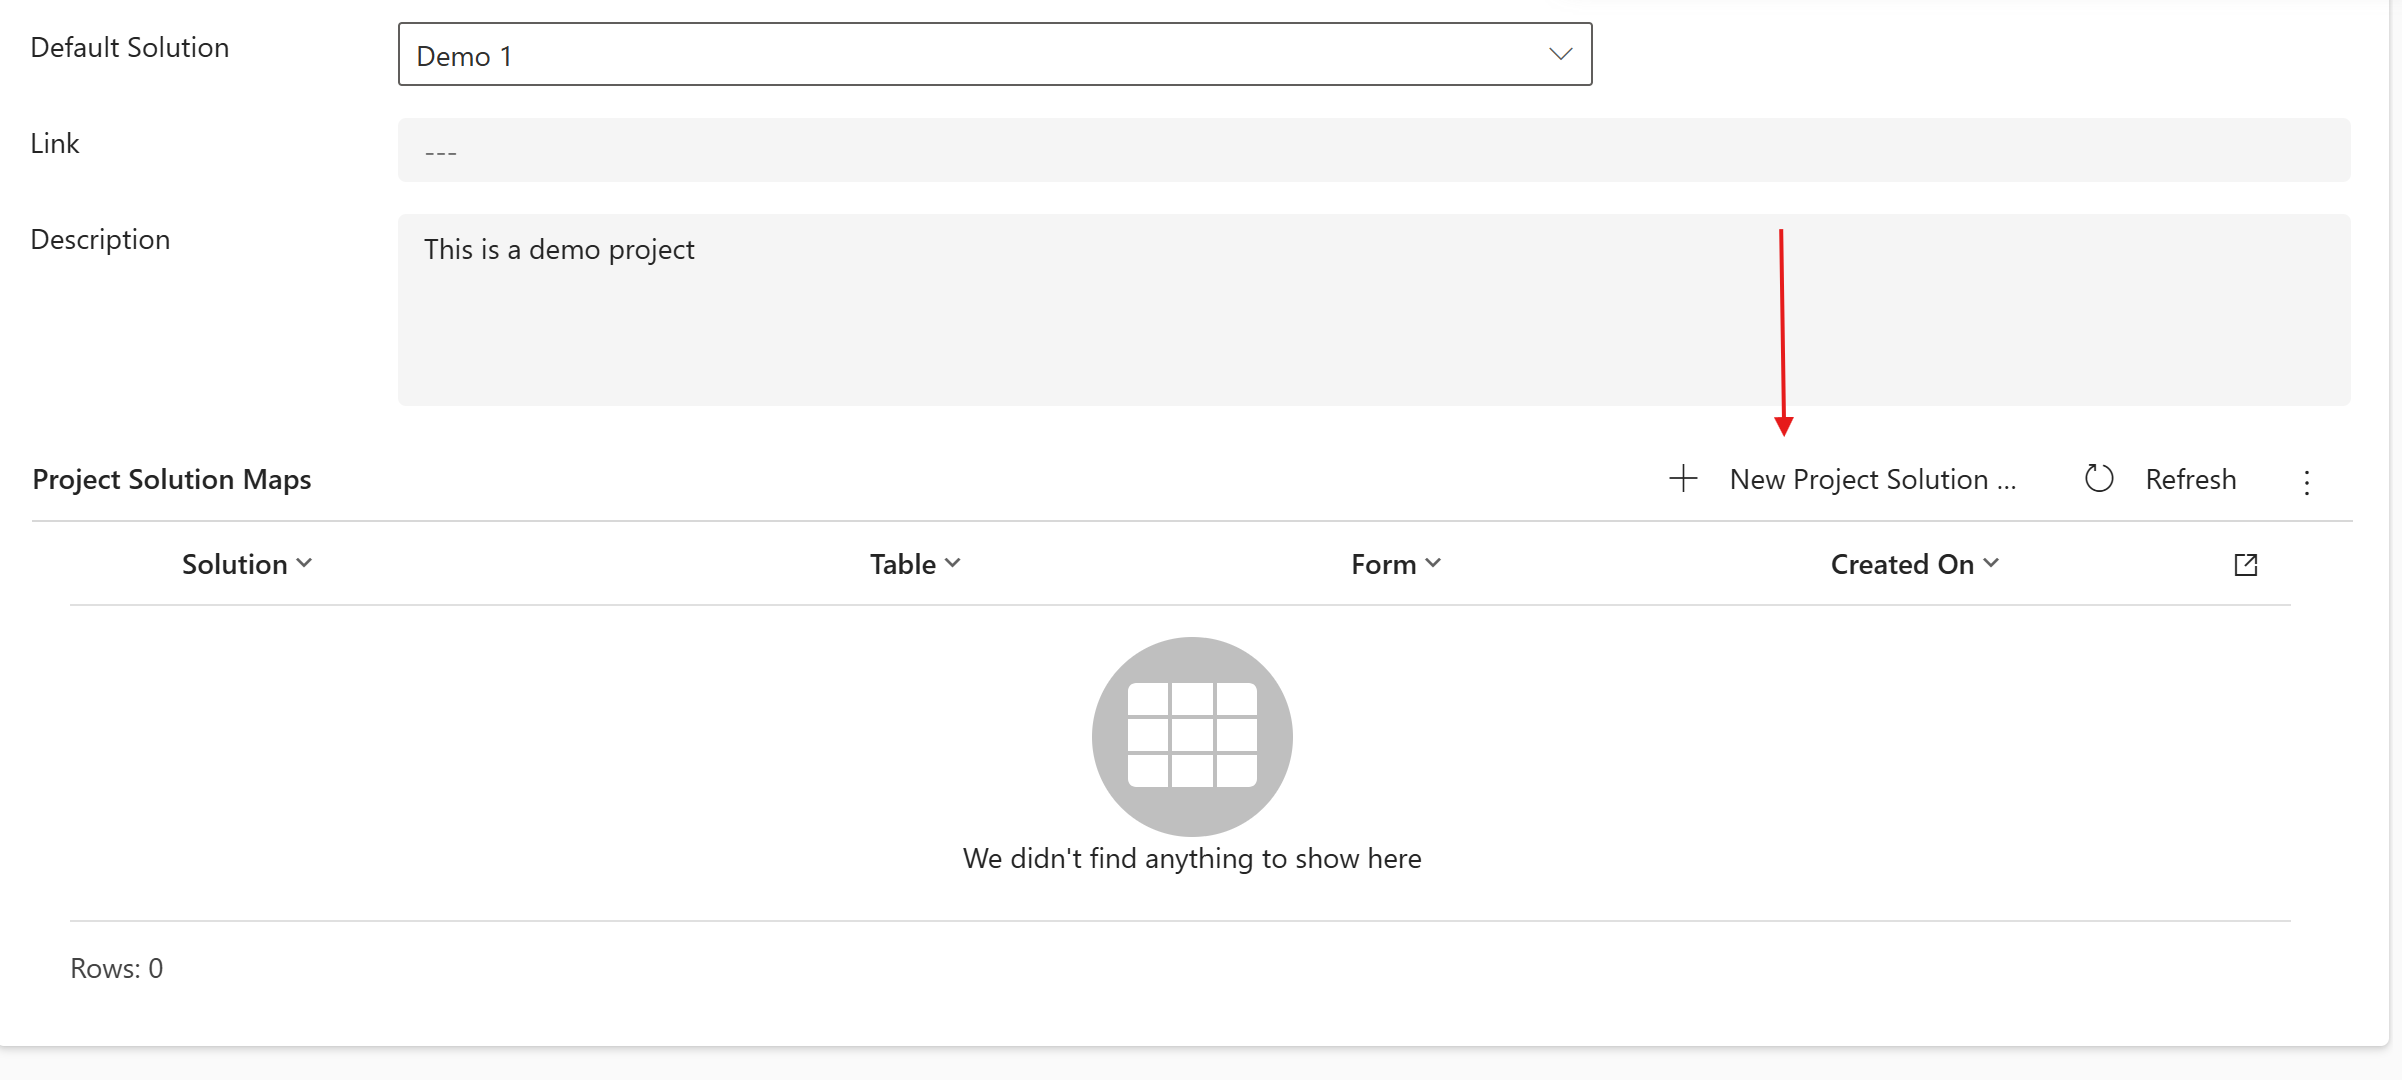 2. Click **Create New**.
3. Fill in the rule details:
* **Name**: Name of the rule.
* **Table**: The Dataverse table to target.
* **Form** *(optional)*: The specific form under the selected table, if the rule should apply only there.
* **Solution**: The unmanaged solution where the components should be added.
4. Click **Create** to save your rule.
2. Click **Create New**.
3. Fill in the rule details:
* **Name**: Name of the rule.
* **Table**: The Dataverse table to target.
* **Form** *(optional)*: The specific form under the selected table, if the rule should apply only there.
* **Solution**: The unmanaged solution where the components should be added.
4. Click **Create** to save your rule.
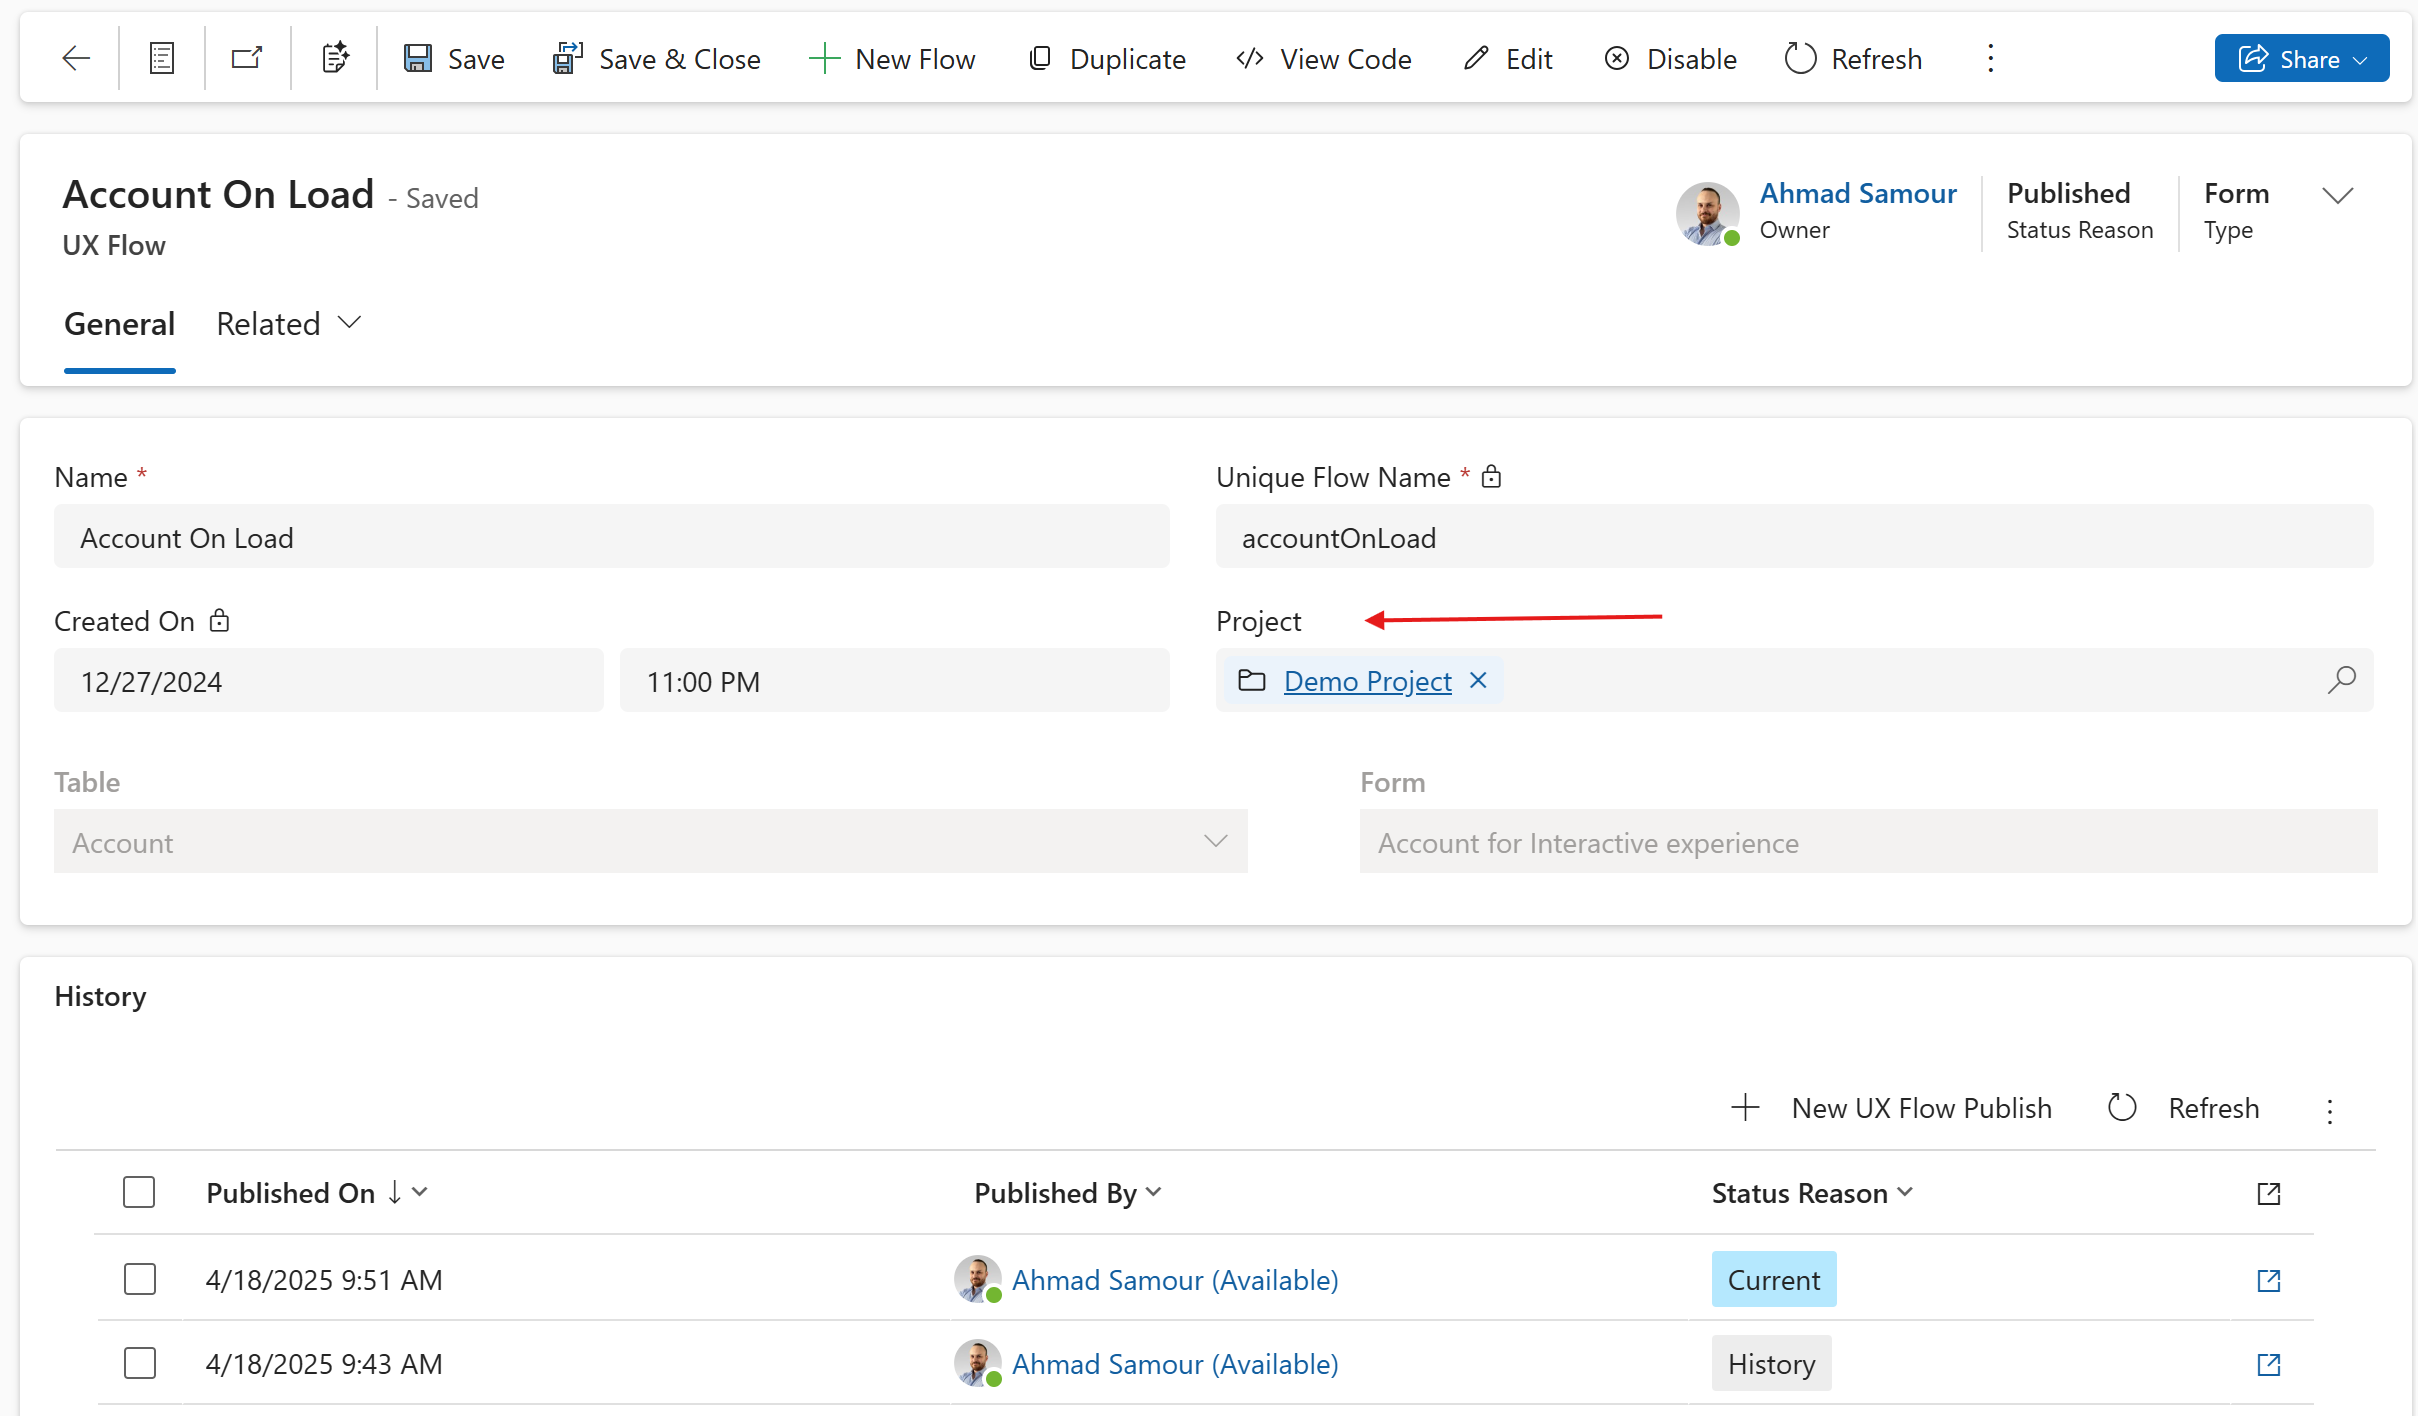
 ## Adding a UX flow to a project
While you're on the UX Flow form, you can select a project to relate the UX flow to:
## Adding a UX flow to a project
While you're on the UX Flow form, you can select a project to relate the UX flow to: